I previously learned how to crochet. I never made anything too fancy or intricate but it was an easy way to make beautiful presents for special occasions or individuals. This past christmas we decided that presents could only be exchanged if they were handmade. Cue: hours of double crochet to make a jumper, a snood and some embroidery of Ramallah tatreez patterns. Along the way I discovered Elise's Purls Before Thyme channel over on YouTube, devoured all the videos and got the idea that maybe I might want to try knitting.
What follows is mostly some self-reflection on some of the first practice swatches I made as part of The Knitting Guild Association (TKGA)'s Learn to Knit correspondence course. I also want a bit of a record of my progress since Ravelry isn't really a place for logging swatches.
Knits and Purls
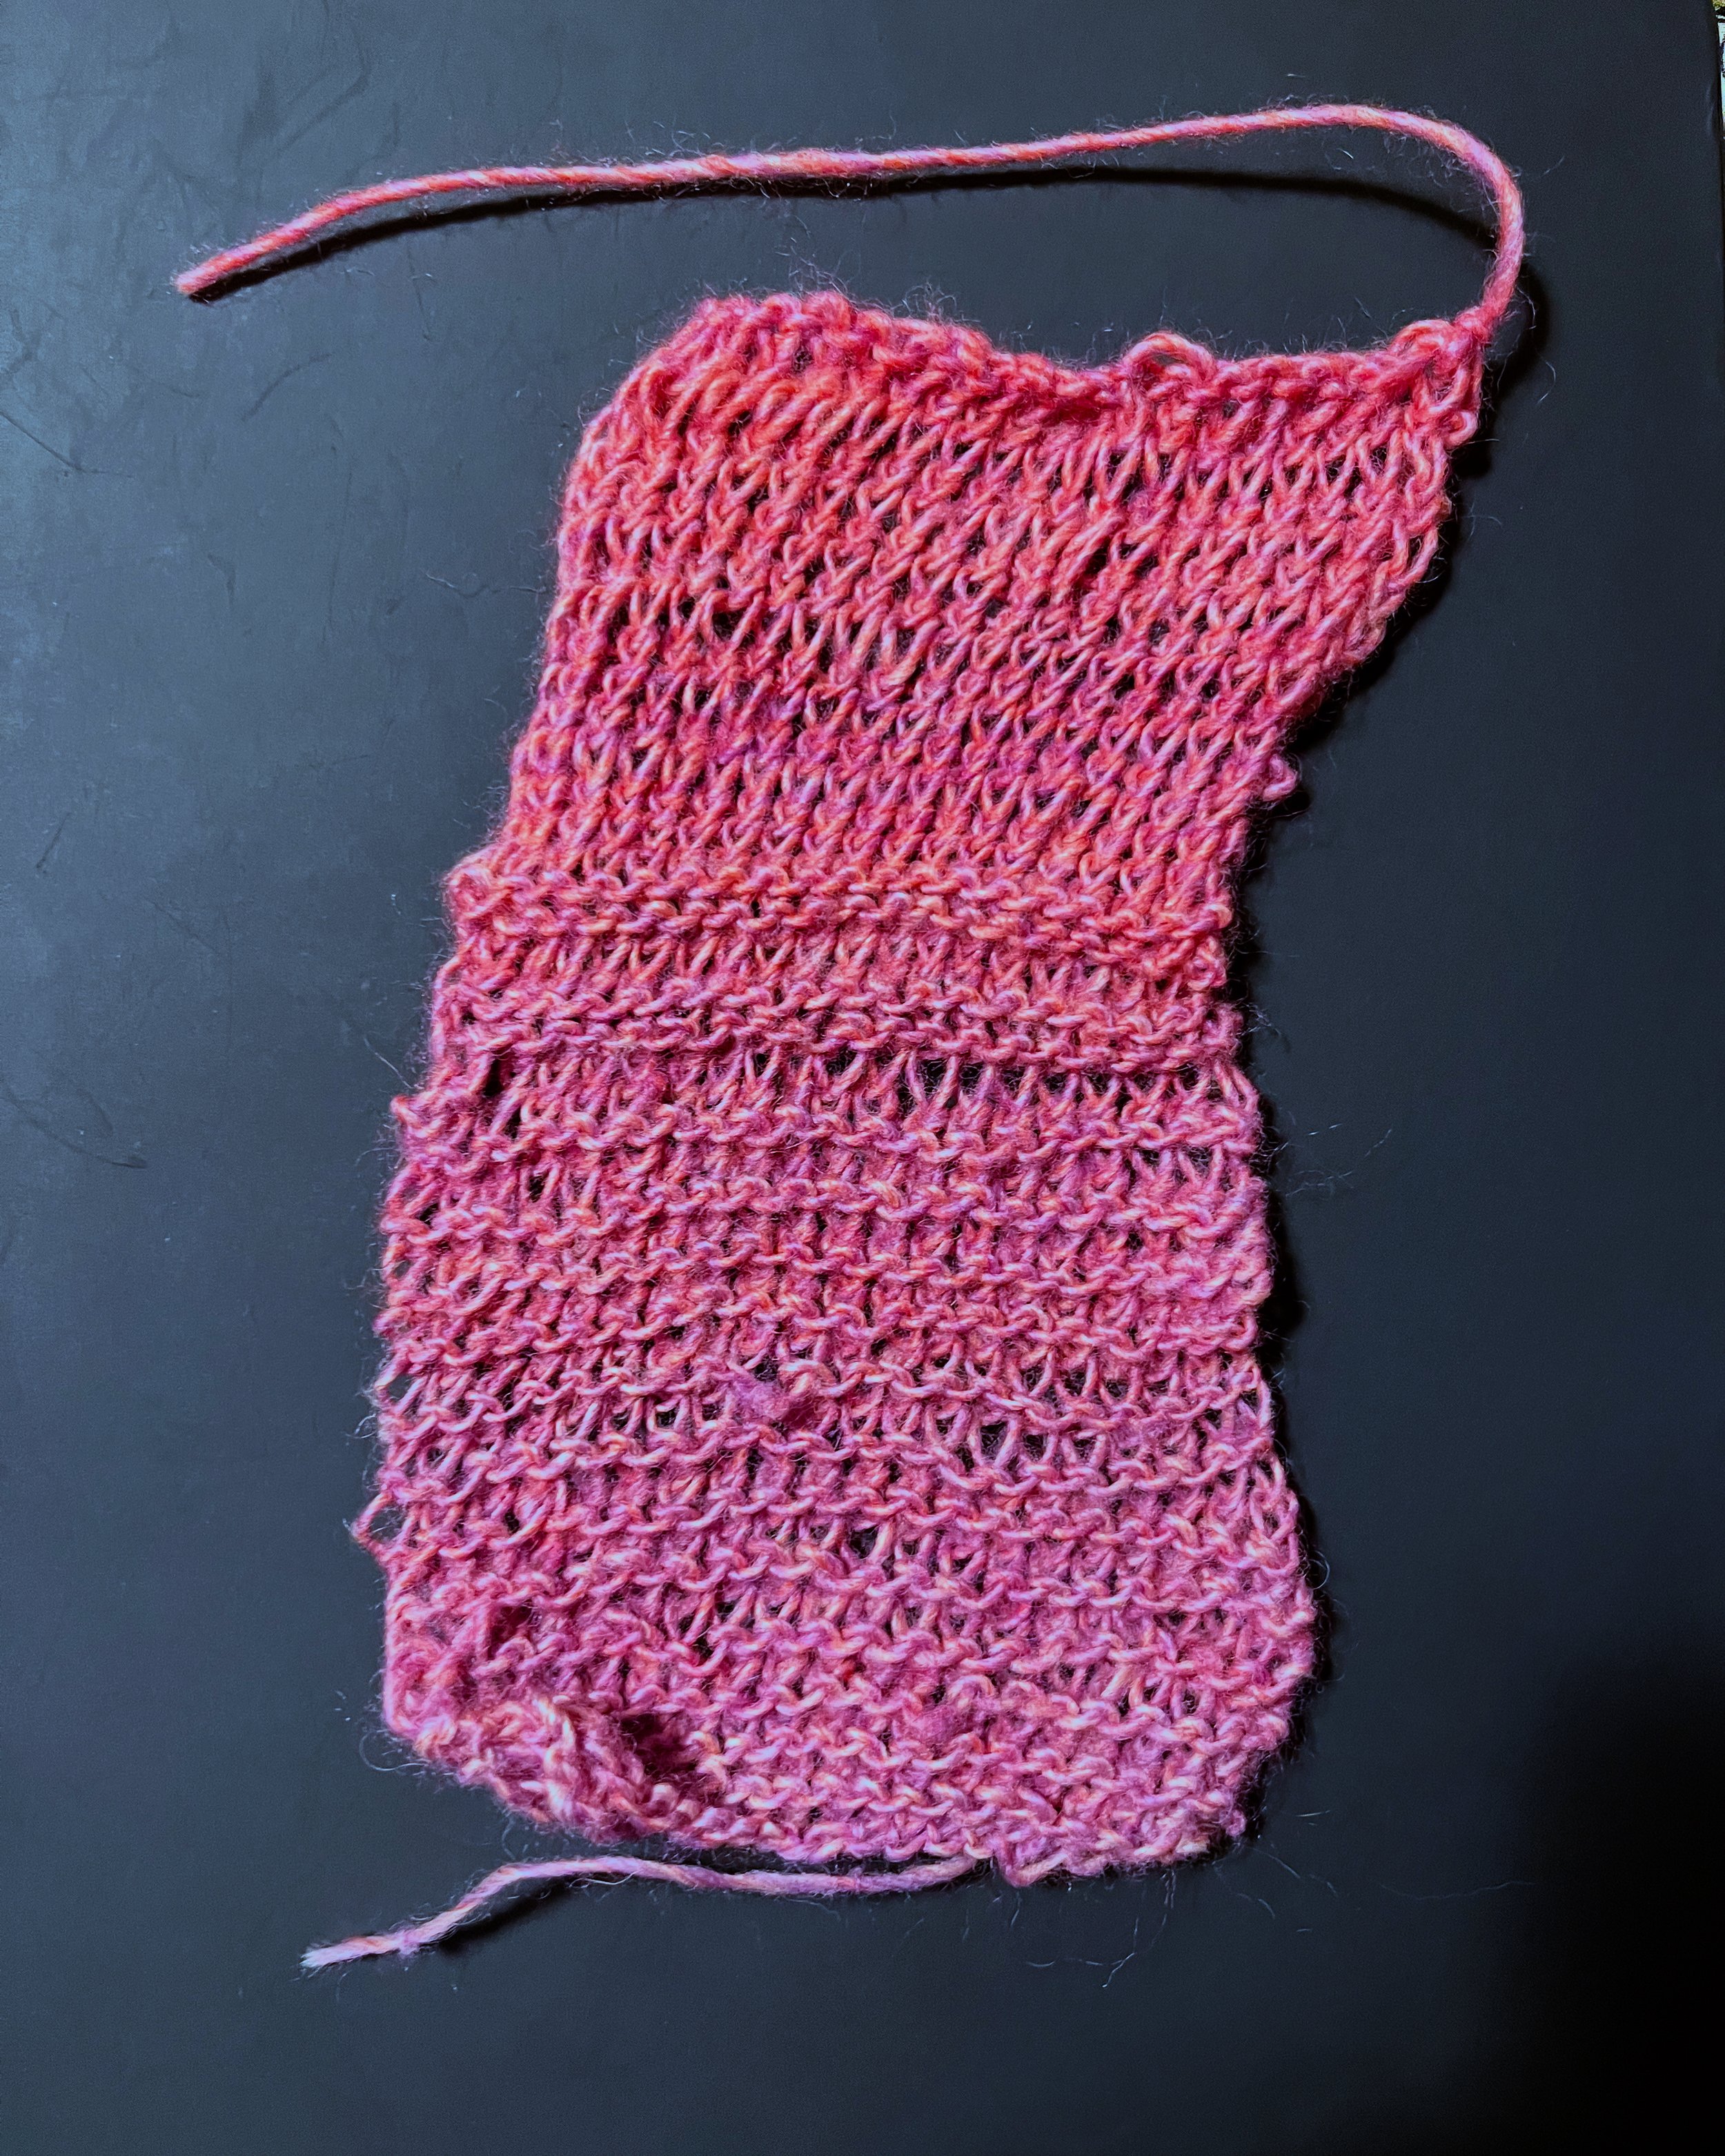
The first thing I did was learn knit stitches and purls. With this swatch I just put in a bunch of repetition. I didn't have any context beyond the specific stitches, in other words how these stitches fit together or what they were called.
Along the way there were a few places, especially at the beginning, where I accidentally increased or decreased the number of stitches. I was quite happy with how it turned out, this being basically the first thing I've ever knit.
It took me ages to summon up the courage to figure out how to purl, but once I'd done it a few times it wasn't too hard.
Garter & stockinette
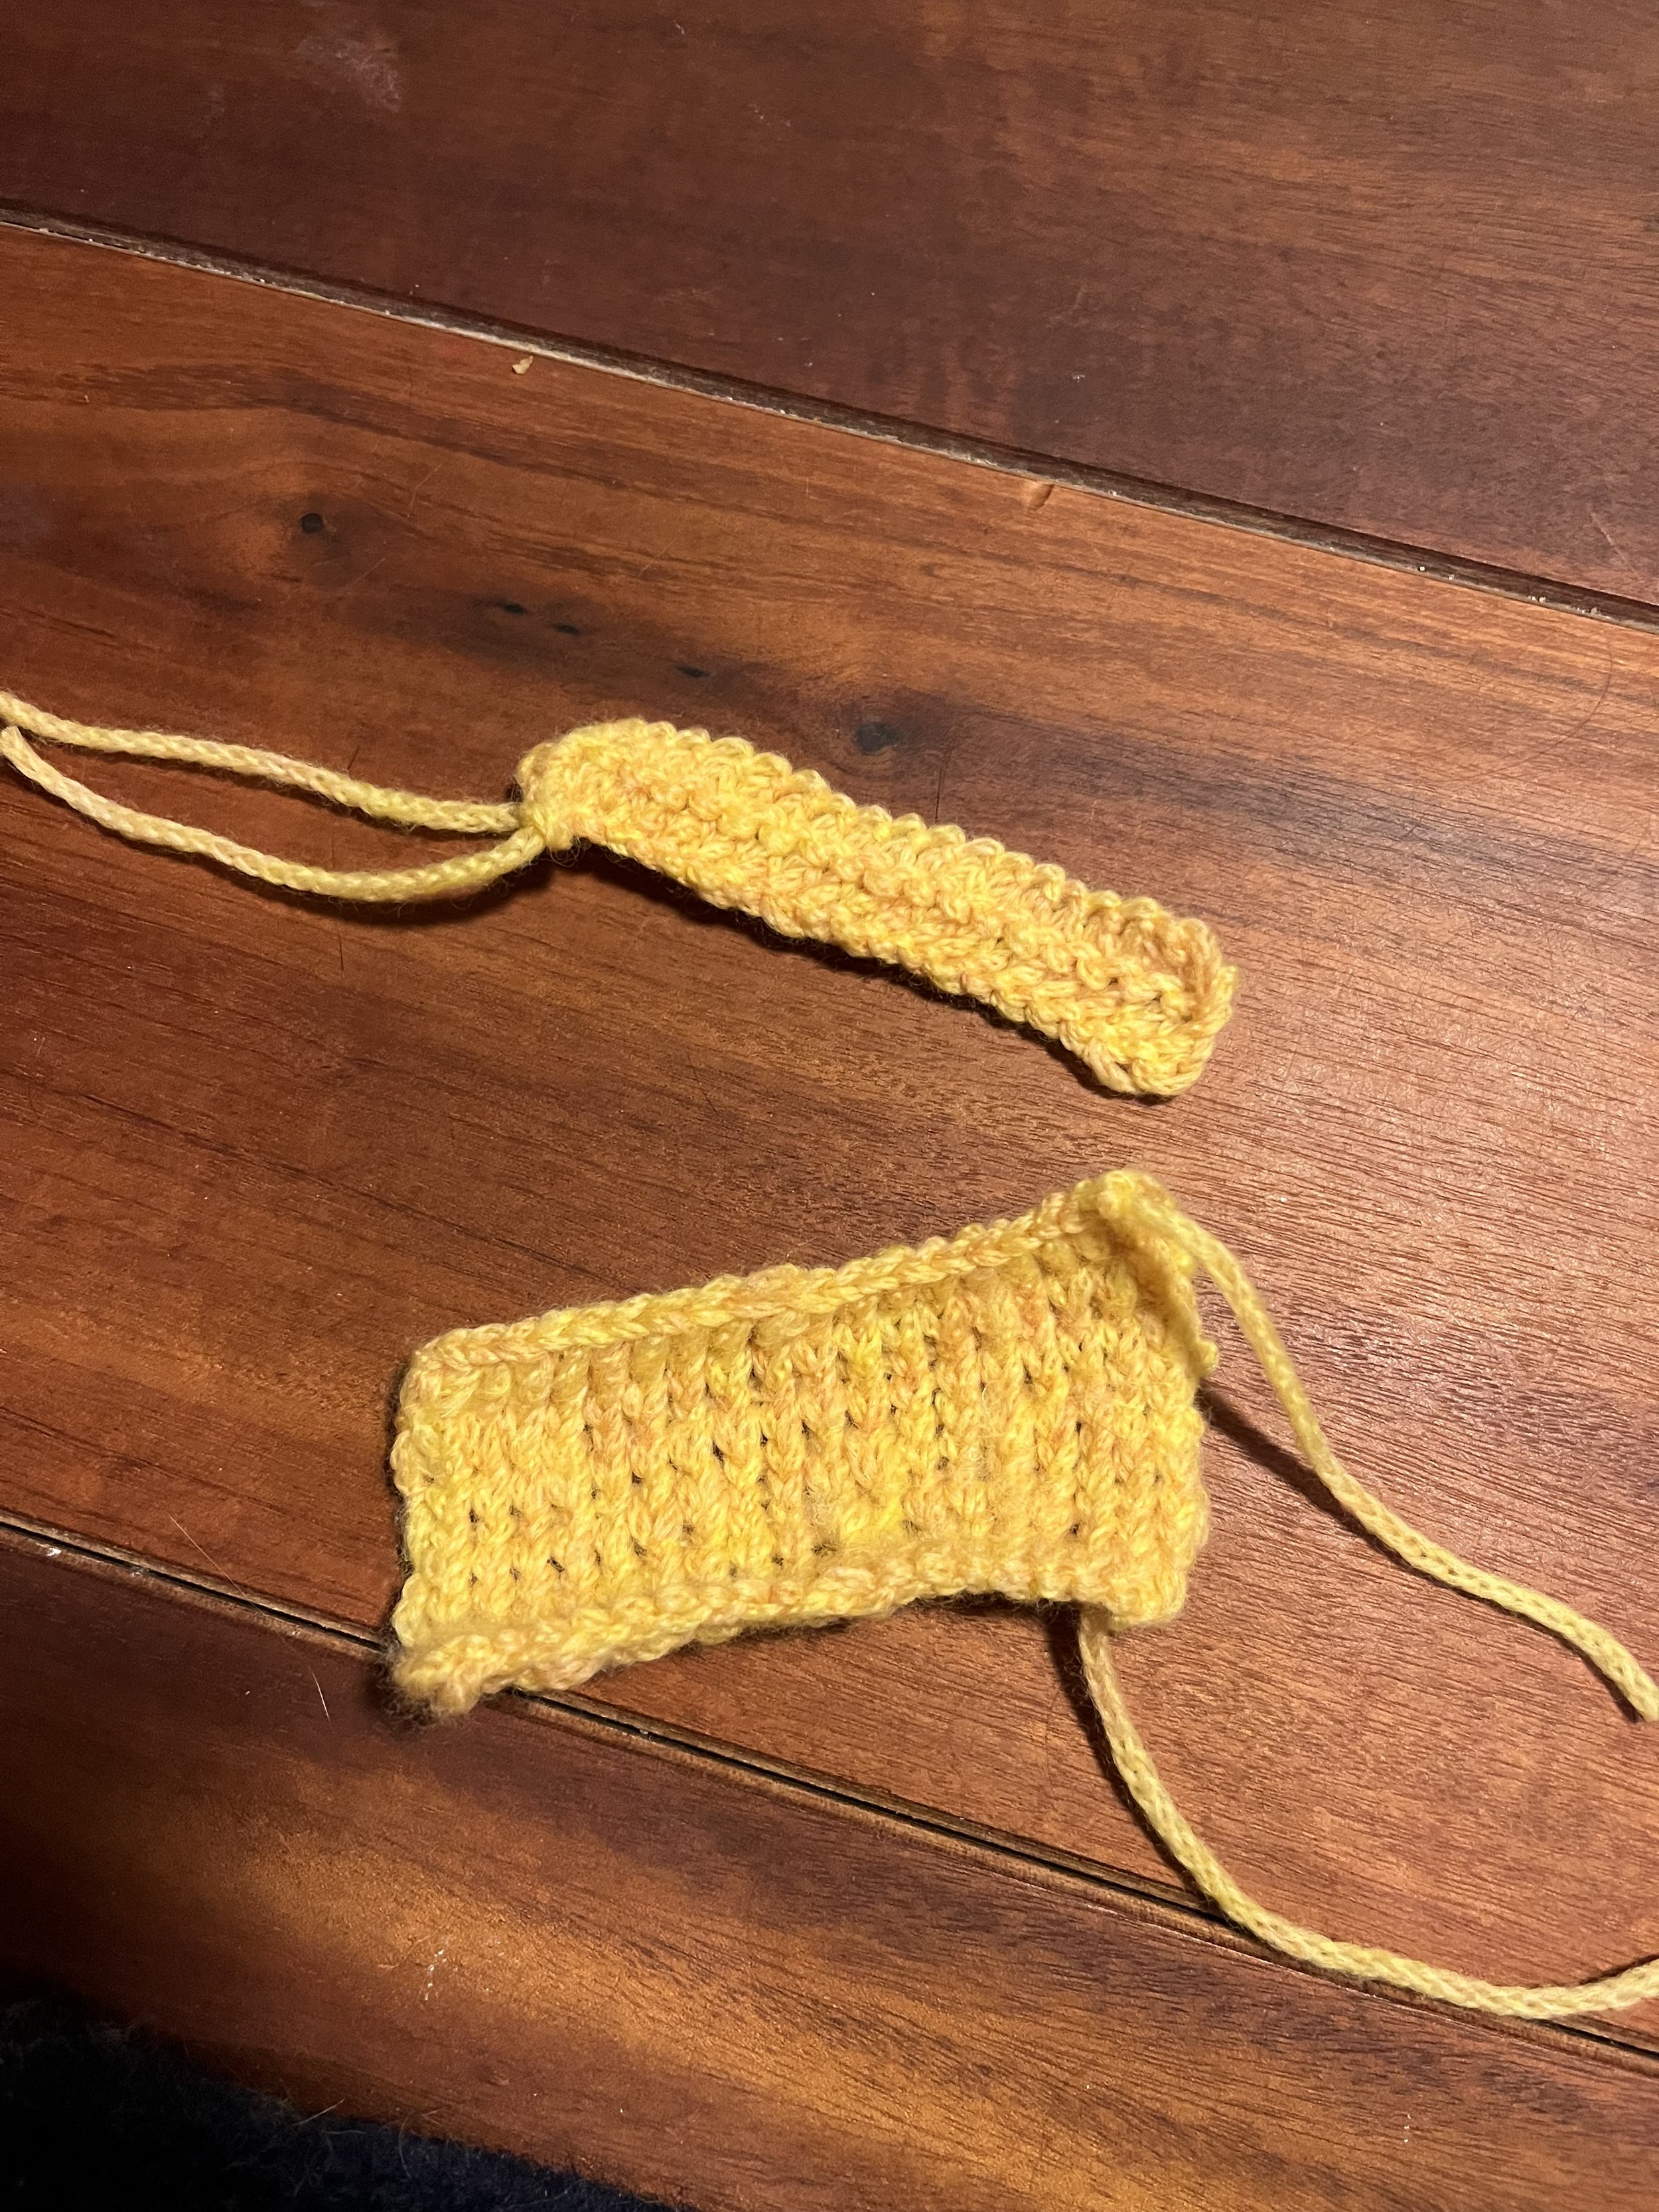
I did two small swatches of garter stitch and stockinette:
Note how the garter stitch doesn't curl at the edges. That's a characteristic of the pattern, as I learned! (And vice versa for the stockinette swatch).
The yellow-ish yarn I used for this was Lana Grossa Cool Merino which is bound or woven (?) in a sort of chain as its internal structure. This means it doesn't split, but it does offer many small holes that you might accidentally end up passing your needle through. Lesson learned!
Single and Double Rib
I switched to Drops Karisma for the remaining swatches. Much easier, if fairly slippery on my metal (circular) needles. Both single and double ribs came together really easily and felt satisfying to produce.
You can see that the bottom, where I cast on, is a bit uneven. I found previous swatches extremely tightly bound so I just used two needles together when casting on. This loosened things up considerably but seems to have had the unwanted side effect of making this wonky first row / edge.
I spoke with a friend (thanks Naheed!) and she suggested I try the old Norwegian cast on. This is AKA the twisted German cast on. It's a variation of the long-tail cast on that I'd previously been using. It took a while to get the hang of but in the end it was not so complicated in the end. It's what I've been using since then.
The TGKA course requires me to use the long-tail cast on so I'll have to figure it out. The other alternative suggestion that people often have when your cast on is tight is to use a needle size one larger for the cast on. My interchangeable needles require a different base / connector for the next size up, so I'm not exactly sure in my head how this will all work.
With the double ribs you can see that the base / cast on row is so much neater. Though now I'm starting to look at the right and left edges and wondering how those undulations can be reduced (or if it's meant to be this way at all?).
Seed stitch
This seed stitch swatch proved trickier than expected although I learned some lessons along the way.
As you can see below, part of the swatch has what looks like some descending stockinette (or I'm not exactly sure what to call it). While doing the work I got confused as to whether I had to knit or to purl. The instruction was to do the opposite of whatever was on the stitch I was at (so knit if I saw a purl bump and so on), but this meant that I somehow ended up perpetuating mistakes I'd made on a previous row. In the end the only way to get out of it was to just stick to something regardless of what I'd done in the previous row.
I also found myself often getting into extremely tough and tight spots, where the tension was almost unmanageable. At first I was a bit confused as to the source of the problem, but I think (working hypothesis) that it is how loose my hands are and how loose the feeding or working yarn is. When I keep my hands loose and I actively work to keep the feeding yarn free, that seemed to improve things. But it often felt like I was being haunted by the ghosts of decisions past, where some tight knitting of a previous row would resurface and I'd have to deal with it in the next row even if my hands were much looser.
Increases, decreases and yarnovers
The final swatch includes multiple different techniques and somehow it's the least obviously successful of the lot.
With this, I started off with some stockinette, then increased the number of stitches on the row with the bar increase and three kinds of Make One increase (M1-L, M1-R and M1-O). At that point I did some more stockinette and then some decreases (k2tog, ssk and SKP).
Then there were some yarn overs. It's unclear to me why yarn overs are taught as a whole separate category or section from increases, since functionally they both are adding stitches. Also at this point in the pattern it seemed like I had fewer stitches on the needle than the pattern or instructions were expecting, but it was time to bind off.
This swatch looks somehow the least 'nice' of all of them. I'm not quite sure why. I also struggled quite a lot with tension (i.e. extremely tight stitches to handle), but towards the end I got the end of making it looser. Clearly there's a balance to be had: tighter makes for neat and tidy, but at a certain point it's unworkable. Conversely, by the end I was much looser in my hands but that's where you can see that things look a lot less uniform.
Next steps
The next (and final) sections in the learning part of the course are weaving in loose ends as well as blocking. I'll try to block the last swatch to see if that makes things clearer (and just for the experience, not having blocked anything before).
Once that's all done (tonight, if I'm lucky!), it'll then be time to put everything I've learned into practice by making some larger swatches. These swatches can then be submitted to TKGA for feedback (the correspondence part of correspondence course) which I'm looking forward to.
Down the line, and depending on how the feedback from my first swatches goes, I'd like to maybe try some other courses and perhaps even the Master Hand Knitting certification. I'll also be dipping into the Fearless Knitting Workbook which is also swatch-based, a format I've been really enjoying as it allows me to get fast feedback and improve my skills.


